
What Is A Straight Edge Tool And How Are They Used?
29th Jun 2023
There’s nothing simple about a straight line. Take it from us.
It’s possibly the most important measurement in any job – from hanging a picture to building a high-rise.
When straightness is out by a degree, it can amount to centimetres of inaccuracy down the line.
One part a few mm out? Nothing fits together, and every other part becomes useless until that one component is right.
A quality straight edge tool means you get it right first time, every time.
What are straight edges and what are they used for?

A straight edge is a solid guide that’s used for marking, working and cutting in straight lines. It’s an essential part of ensuring accuracy on any job, helping to check existing lines for straightness, or copy an existing straight line onto another object.
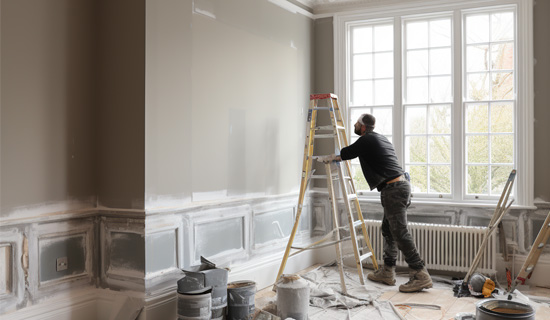
Predominantly employed in the decorating industry, they’re used by professionals and DIYers alike for fitting floor coverings, cutting and hanging wallpaper, or scoring straight lines on other materials like textiles or leather. Their use also extends to checking the straightness of workpieces, too.
Essentially, wherever you need to be confident of a straight line, you need a straight edge tool. So, the clue’s in the name. But not all straight edge tools are created equal.
Using a straight edge
Choose the right type first

The first step is to choose the right size for the task. At Maun, our expertly crafted straight edges range from 30cm to 3m, and are available in both metric and imperial sizes, accurate to less than 0.1mm per metre.
Naturally, a three metre straight edge would not be practical for small-scale craft work – nor a 12-inch tool for cutting sheet glass. So it’s important to choose an appropriate size for the job.
Next, you need to choose between steel straight edges and aluminium straight edges.
- Our aluminium straight edges are equally hard-wearing and long-lasting, but designed with even more safety in mind. With a non-slip backing and recessed area to keep fingers out of the way, it’s ideal if you’re using your straight edge as a guide for cutting.
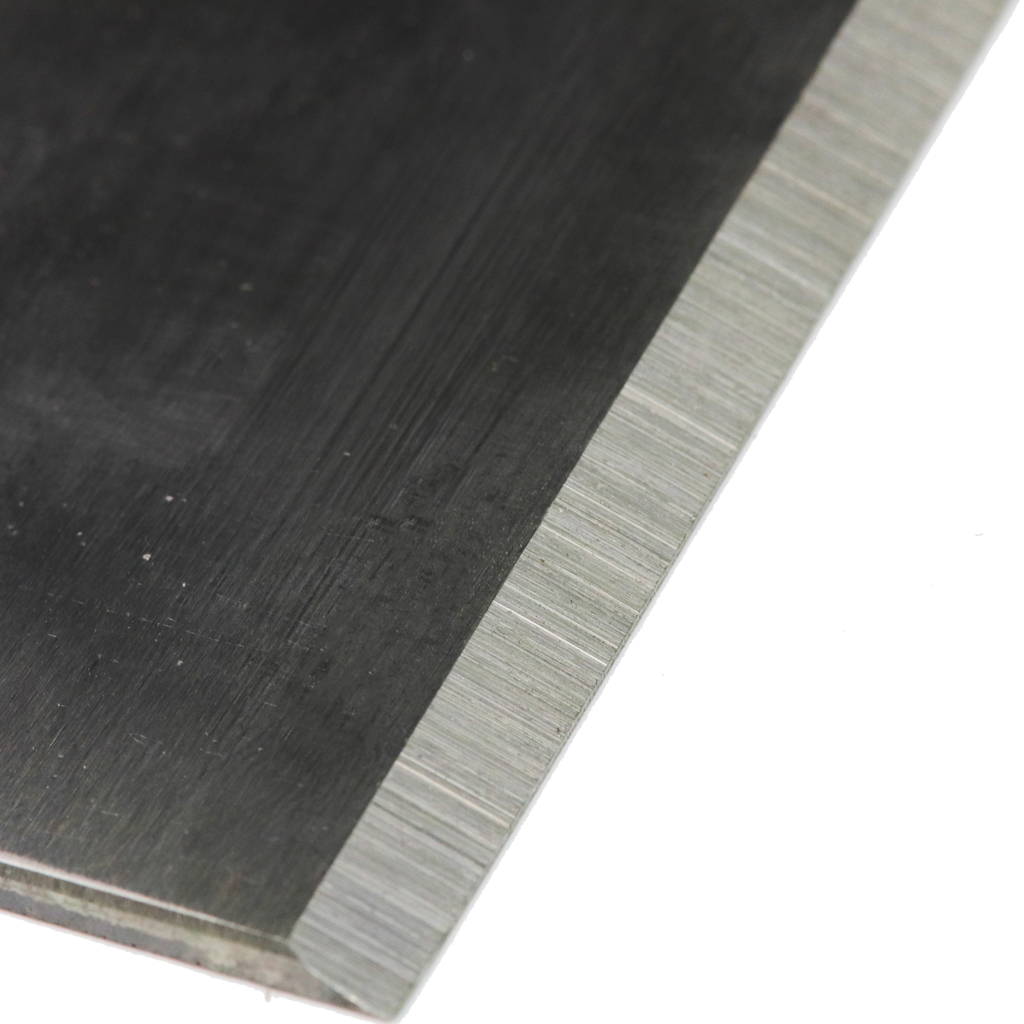
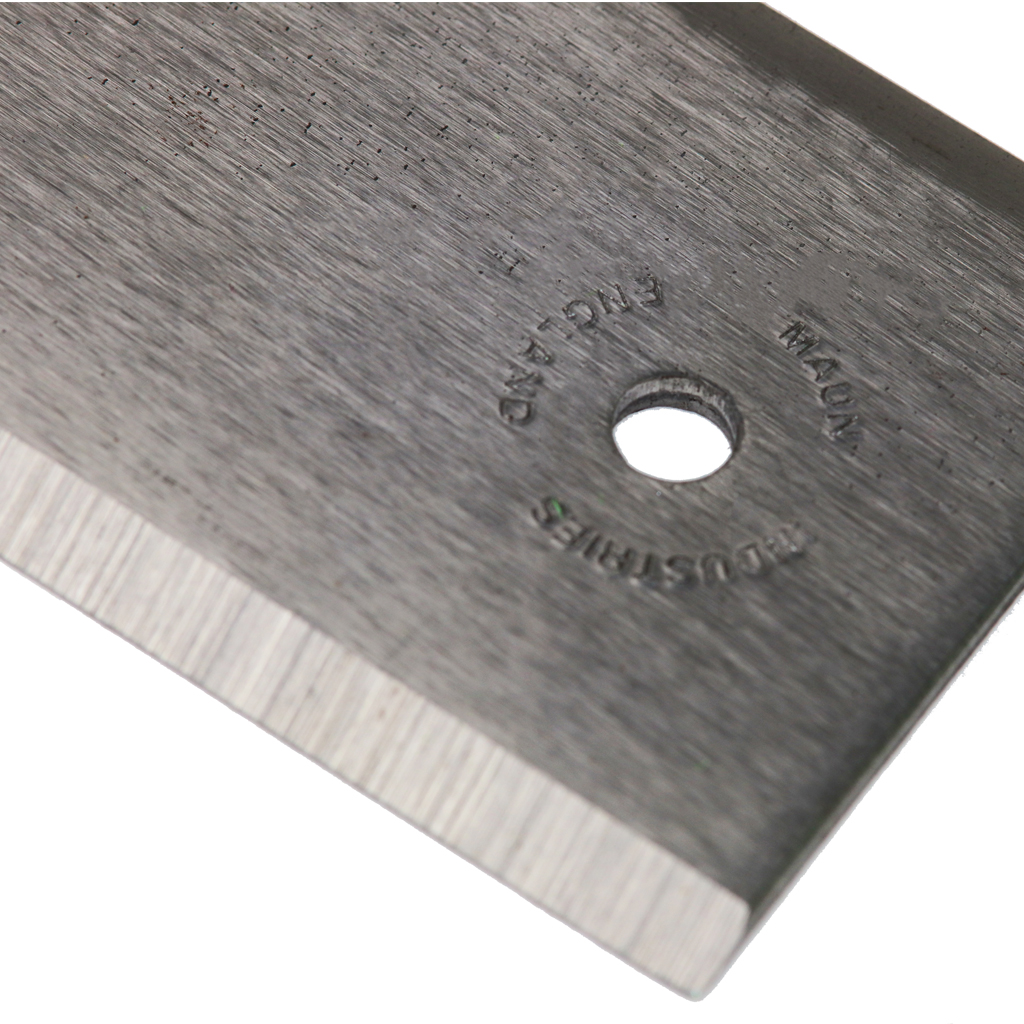
- All Maun steel straight edges are built to last, made from high-quality carbon steel and case hardened to HRC 57. Exquisite to handle and beautifully accurate, their thickness ensures safety when using a metal scriber, while the bevelled edge is designed for unobstructed vision. It’s an all-round tool for all sorts of jobs.
How to use a straight edge

So, now you’ve got the right tool for the job, it’s time to put it to work.
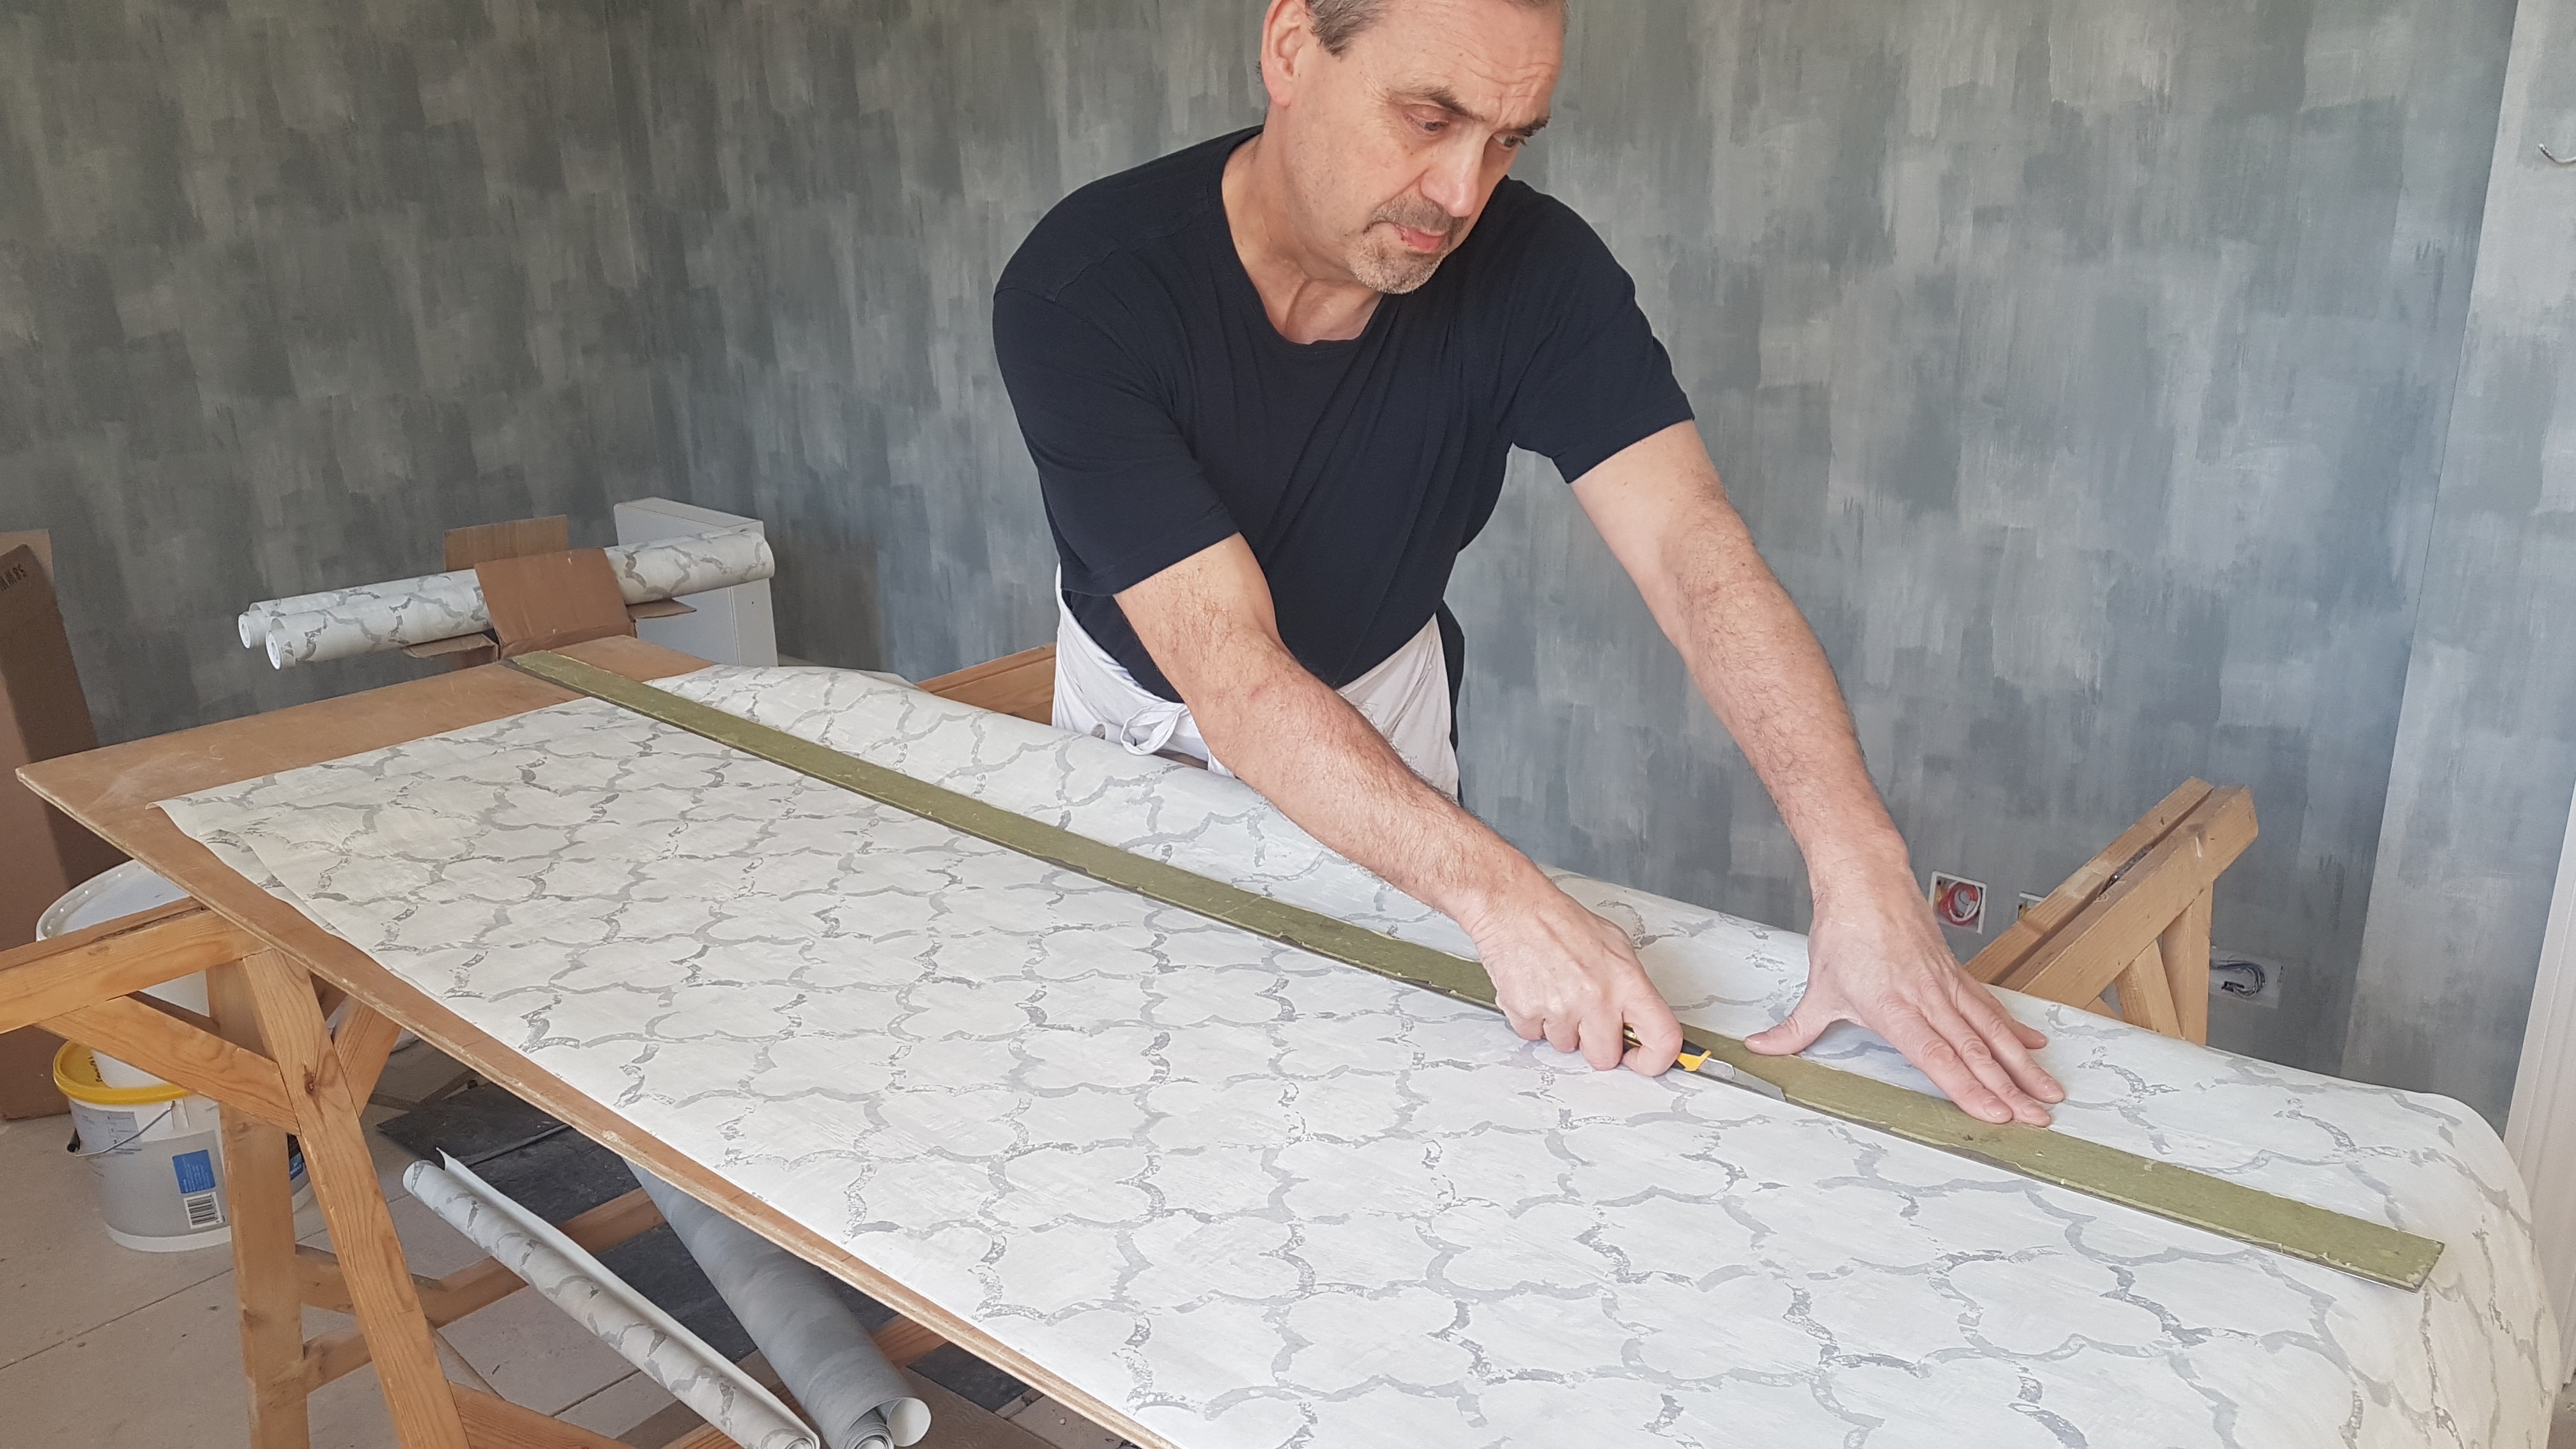
For marking and cutting straight lines, here’s how to get a straight edge, every time:
- 1. Lay your material down in front of you.
- 2. Measure along one edge of the material and mark your desired length.
- 3. Then, move to the opposite edge of your piece of material, and mark the same measurement on that side (assuming you want to make a straight, rather than angled cut).
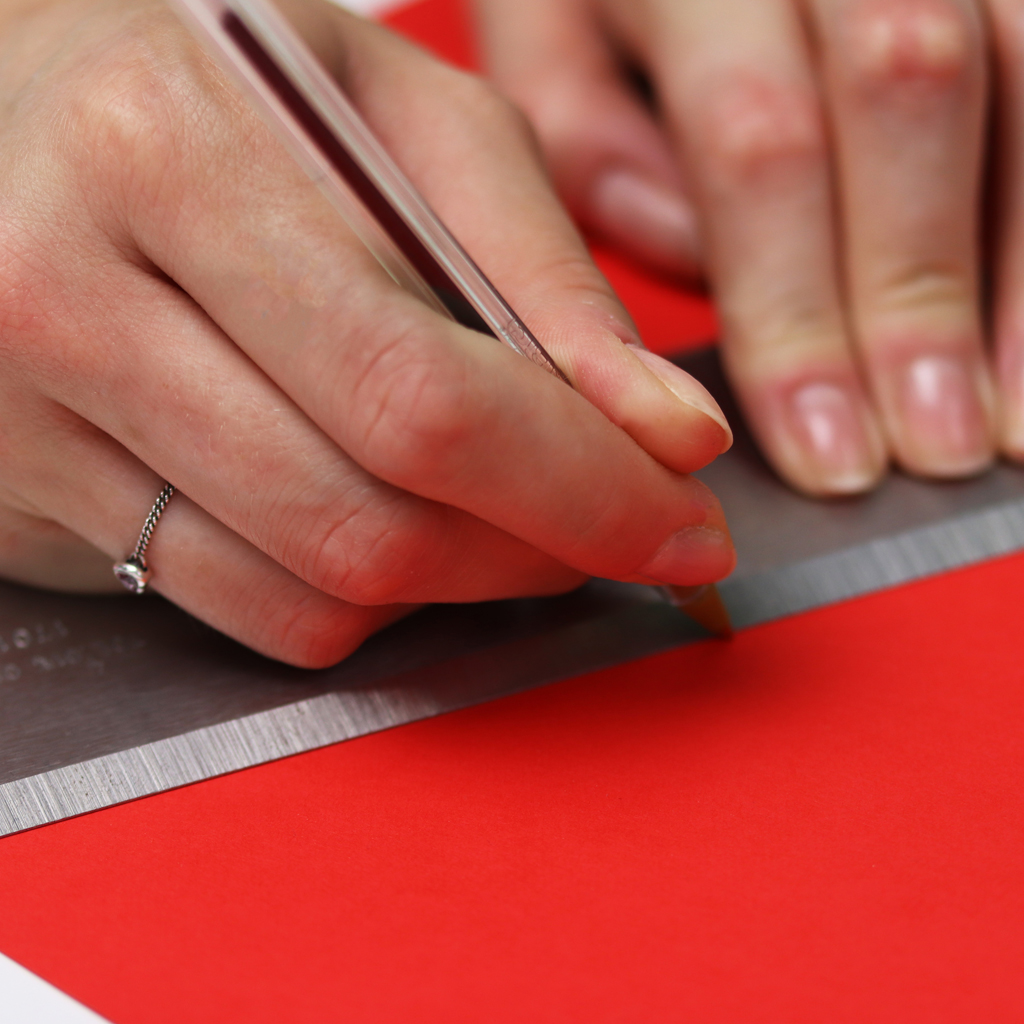
- 4. Line up your straight edge tool, then run a pencil along the bevelled edge of the tool to draw a clear, straight line between your two marks.
- 5. You now have a perfectly straight line to cut along.
If you’re working with wallpaper, you can use scissors to cut along the line you’ve drawn.
For a cleaner finish on other materials (such as vinyl floor covering) line up your straight edge tool along your pencil line again. You can then use the tool as a guide to lean against, as you cut along the line with a Stanley knife, scalpel or other craft blade. This will also help to protect your fingers.
For cutting glass, you should leave the straight edge tool in place and score the required line first using a glass cutter.
You can also use Maun straight edges to check the flatness of a surface. By laying the bevelled edge along the surface, and placing a light behind it to highlight any unevenness.
What are the best straight edge tools?
The best straight edge tools are generally crafted from steel or aluminium. Steel for when you need something more heavy duty. Aluminium for something more lightweight – but no less accurate.
After all, it’s accuracy that differentiates a good job from an average job. Take accuracy seriously, and everything else will fall into place.
That’s why our range of Maun straight edge tools are manufactured with a variation of <±0.01% or <±0.084mm per meter of length or <±0.001 inches per foot.
This means that whatever the job – and whether you’re using a 72” steel straight edge or a 3m long aluminium straight edge, you can be confident every line is a straight one.
What jobs are straight edges used for?
Straight edge tools are used for any job that demands accuracy. Whether you’re measuring a length that’s accurate to 0.1mm per metre. Or drawing, scoring, and cutting to a perfectly straight line.
That’s why they’re popular with people who take pride in their work. From decorators hanging wallpaper, to flooring fitters cutting materials to size. From upholsterers and crafters working with textiles and leather, to DIYers seeking a professional finish. Whatever the task at hand, good straight edges are a perfectionist’s dream.
This broad variety of uses means that there’s also a surprisingly wide range of straight edges available. So how do you go about choosing the right one?
How to choose the right tool for the job
With a range of different lengths available, how do you choose which straight edge tool is best for you?
A lot depends on the job at hand. If you predominantly work on small craft jobs, like handmaking small leather goods, a small straight edge – 12 or 18 inches – will carry out the job perfectly.
If you work in decorating, and find yourself doing a lot of measuring and hanging of wallpaper or vinyl flooring, you need a longer straight edge tool – you’d get the most out of a 2000mm or 3000mm tool.
Best Materials for a Straight Edge
Steel Straight Edges - For Consistent Flat Edges
Maun’s steel straight edge tool is expertly manufactured to the highest professional standard, designed with a bevelled edge for unobstructed vision.
Finished to an accuracy of 0.001 inch per foot, all lengths mark straight lines with matchless accuracy. Meanwhile, the 3.5mm thickness ensures safe use with metal scribers.
Its high-quality carbon steel surface is ground for a smooth, comfortable finish, and each tool is equipped with a 6mm-diameter hanging hole for easy storage.
Finally, all our steel straight edge tools are case hardened to HRC 57 for durability. So you know they’ll turn up for every job, for years to come.
Aluminium Straight Edges - For Safeguarding During Cutting
Where the steel straight edge sits more level than an aluminium tool because of its flatter surface, the Maun aluminium safety straight edge offers something slightly different. It’s a tool designed for safety as well as versatility.
Our aluminium edge has a slimmer width for lightweight everyday use, with a unique grooved surface designed for safety and precision.
The underside of each tool features non-slip backing, which works in tandem with the finger grooves on the top side to create a firm grip on every surface.
These grooves also act as a guard for the fingers, meaning the aluminium straight edge tool is the safest option in the Maun range.
Finished to the same exacting standards as its steel counterpart, the result is a sleek tool that doesn’t sacrifice any accuracy for its increased safety and versatility.
Why settle for ordinary? Choose a Maun Precision Engineered Straight Edge
There’s nothing simple about a straight line, so the only simple thing about your straight edge tool should be its ease of use.
By applying the same high-quality materials, expert engineering, and obsessive attention to detail as we do across the whole Maun range of tools, we’ve taken the simple straight edge, and reinvented it as a thing of beauty.
We never settle for ordinary, and you shouldn’t either. Quality straight edge tools, beautifully made, to last a lifetime.
Popular sizes of straight edges:
SHOP THE MAUN RANGE OF STRAIGHT EDGE TOOLS.
Conclusion
Now you should have a better understanding of what a straight edge is.
If you have any questions, feel free to contact us for more information.
Want to read more? Check out our related posts below:
- How to Use a Straight Edge Tool
- How to Cut Laminate Flooring
- What’s are Handiest Tools for Your Toolbox
- What are Pliers
- What are parallel pliers
- What are Pliers Used For
- What is a Wad Punch Tool
- What are Side Cutter Parallel Pliers?
- What is an Olive Cutter
- What are Bird Dispatchers and What are They Used For
- What are Diagonal Cutting Pliers?
- What is a Crimping Tool and How are They Used?
- What are Round Nose Pliers and How to Use Them
- What are End Cutting Pliers?
- What are combination pliers and how do they work?