
How To Repair A Wooden Fence
4th Jul 2023
Is your fence looking worse for wear?
Then why not have a go at repairing it yourself.
In this guide, we’ll detail how and why you should repair your wooden fence to get it looking like new again.
Pre-Step: Inspecting the Fence
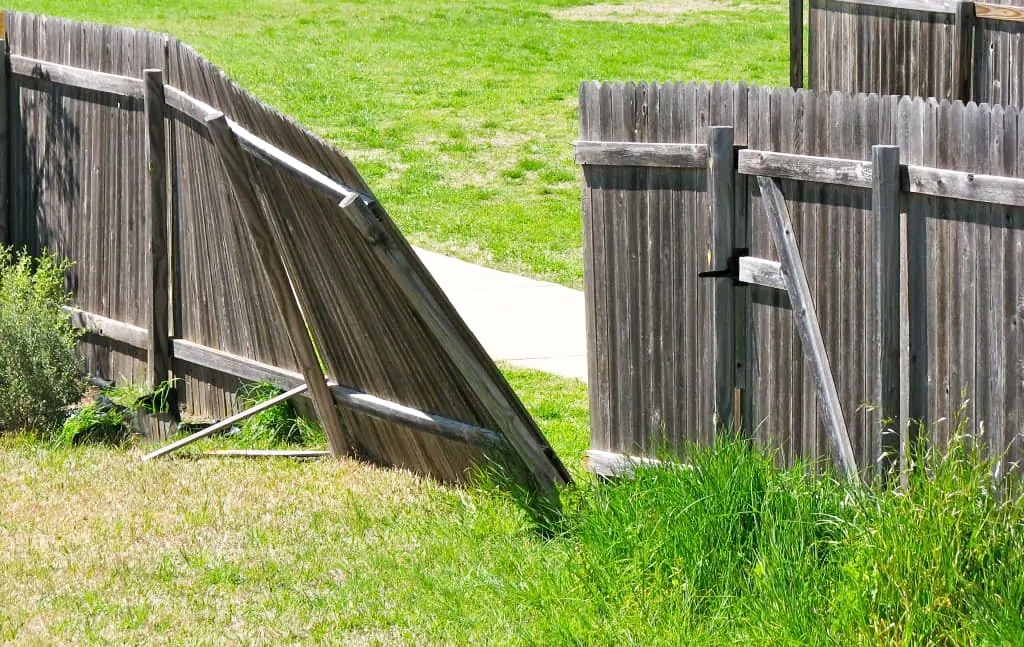
Before you start any work, you should inspect the state of your fence, as it’ll help you decide if it needs repairing or replacing.
Check for signs of rotting in the wood, if it’s the panels or posts that are leaning, and for any loose nails or screws.
Leaning posts aren’t always due to rot. They can be from the ground falling away or shifting around the post.
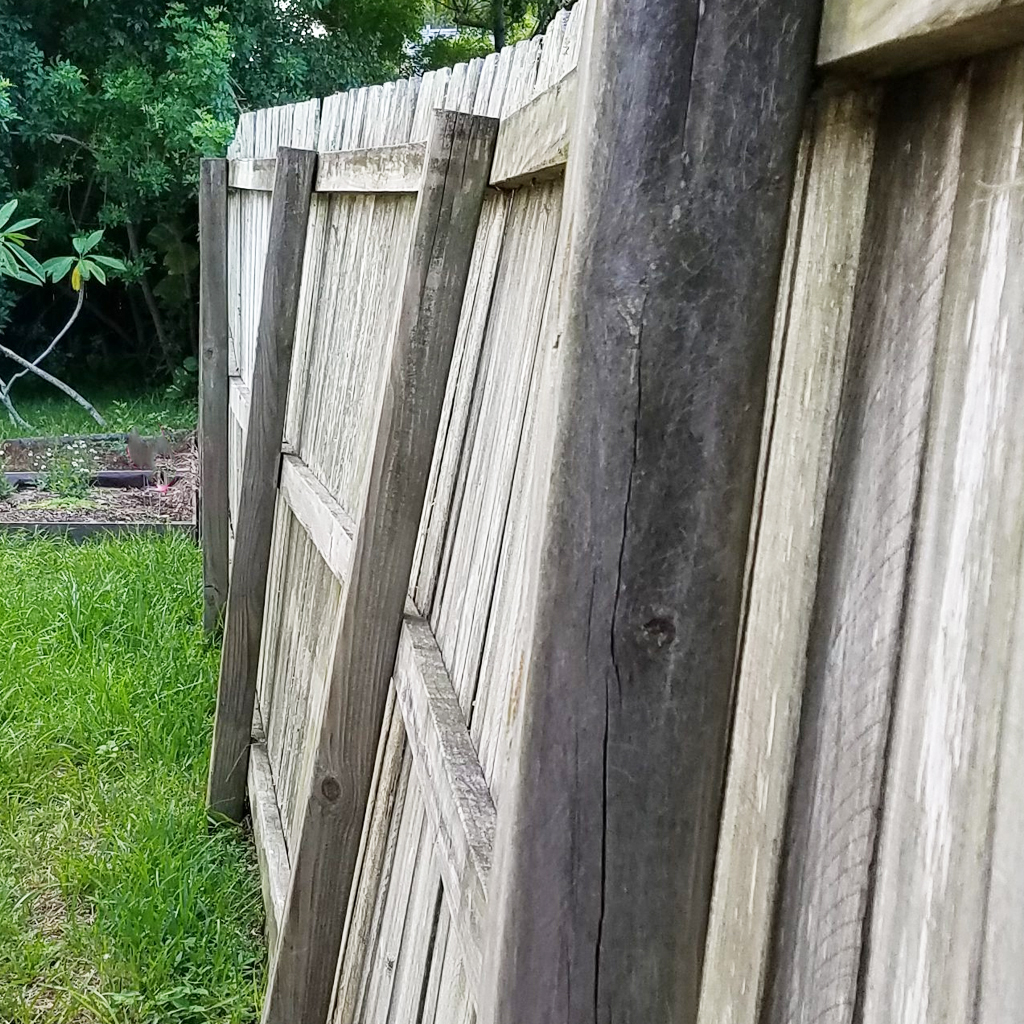
Fixing a Leaning Fence
- To fix a leaning fence that’s not rotten, you can replace the leaning posts.
- You may find it easier to remove the existing pickets and rails from the fence post before you fix it. If you find any of the old nails or screws are stuck, you can easily remove them with a pair of End Cutting Pliers.
- Dig around the base of the post so it can be moved freely.
- If there’s no existing aggregate at the bottom of the hole, dig a little deeper, then add 4-6 inches of small stones or gravel to allow for drainage. If you don't add aggregate for drainage, the post can be trapped in water, which will rot the post.
- Straighten your post in the hole. You can level it against the rest of the fence by using a piece of string attached to posts you know are level.
- Secure it in place by screwing it to 1 or more supporting pieces of wood.
- Backfill the remaining space with concrete to secure it.
- To further prevent rot, treat the bottom of your fence post with a wood preserver. The more coats, the better.
- Once the concrete has set, you can remove the supporting pieces of wood.
Replacing a Fence Post
- Start by detaching the surrounding pickets and fence rails from your fence post. If you find any of the old nails or screws are stuck, you can easily remove them with a pair of End Cutting Pliers.
- If it’s set in concrete, dig around the concrete until it’s completely free of the surrounding soil, then lift it out.
- Fill in and compact the soil around your area to create a secure hole for your new post.
- Add 4-6 inches of aggregate in the base of the hole to allow for drainage.
- Treat the bottom of your post with a wood preserver. The new post should also be made from pressure-treated timber.
- Place your post in the hole, level it, then secure it in place by attaching it to other pieces of wood that are secured in the ground.
- Backfill the remaining space with concrete to secure it.
- Once the concrete has set, you can remove the supporting pieces of wood.
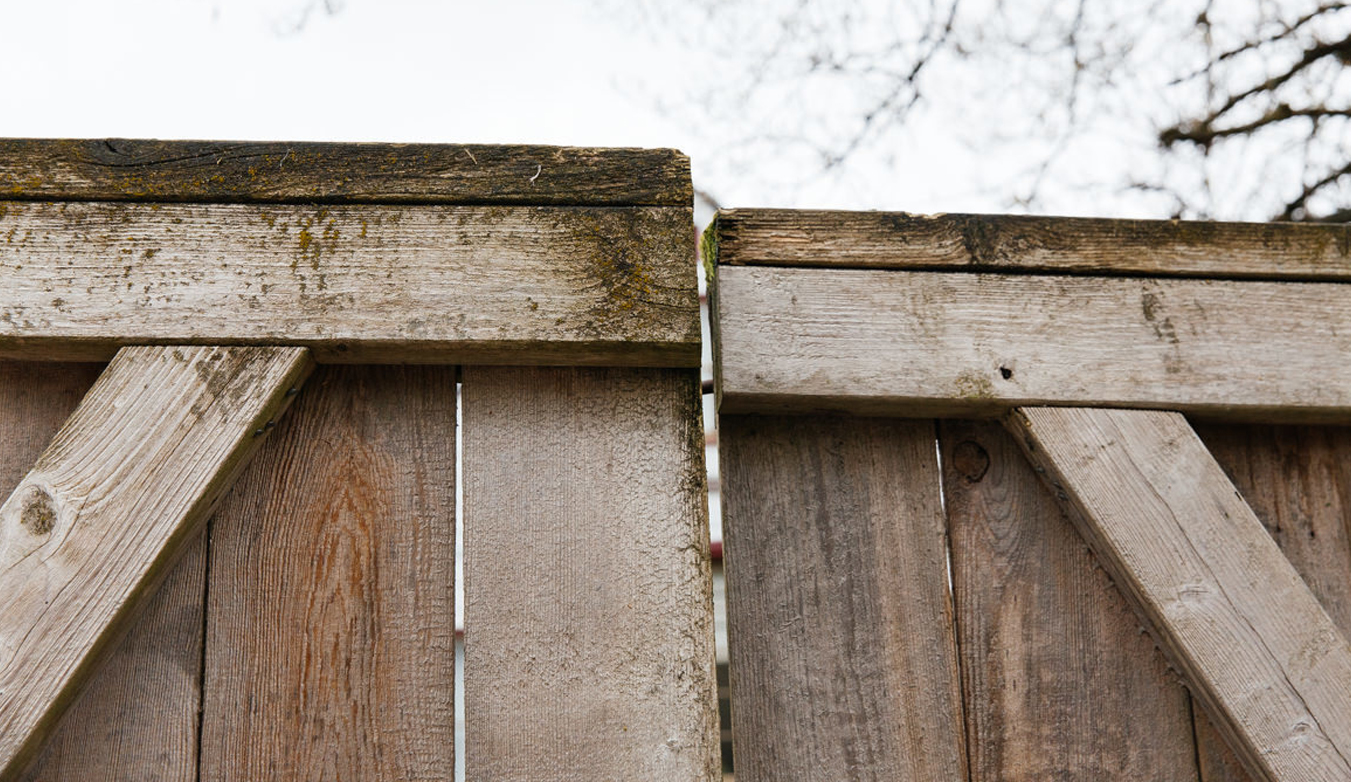
Fixing a Fence Panel
Sometimes extreme winds or objects can force fence panels off the posts.
If this is the case, you can simply remove the old nails/screws from the wood (we recommend using these End Cutting Pliers), and re-attached the panels to the posts.
However, if the panels are starting to rot, you will have to replace the entire panel.
Replacing a Fence Picket
Sometimes a fence picket will pull loose from the rails but is still in good enough condition to be re-attached. In this situation, you can install new fasteners and re-attach the fence picket to the rails. However, if it’s rotting or damaged in another way, a replacement will be your best option.
Using a pair of End Cutting Pliers, you can easily remove the old nails from the damaged picket and rails, giving you a fresh start to re-install or replace them. These are much better than using pliers, as their design allows you to get the jaws flush against the wood surface, minimizing damage and increasing accuracy.
Repairing Wire Fences
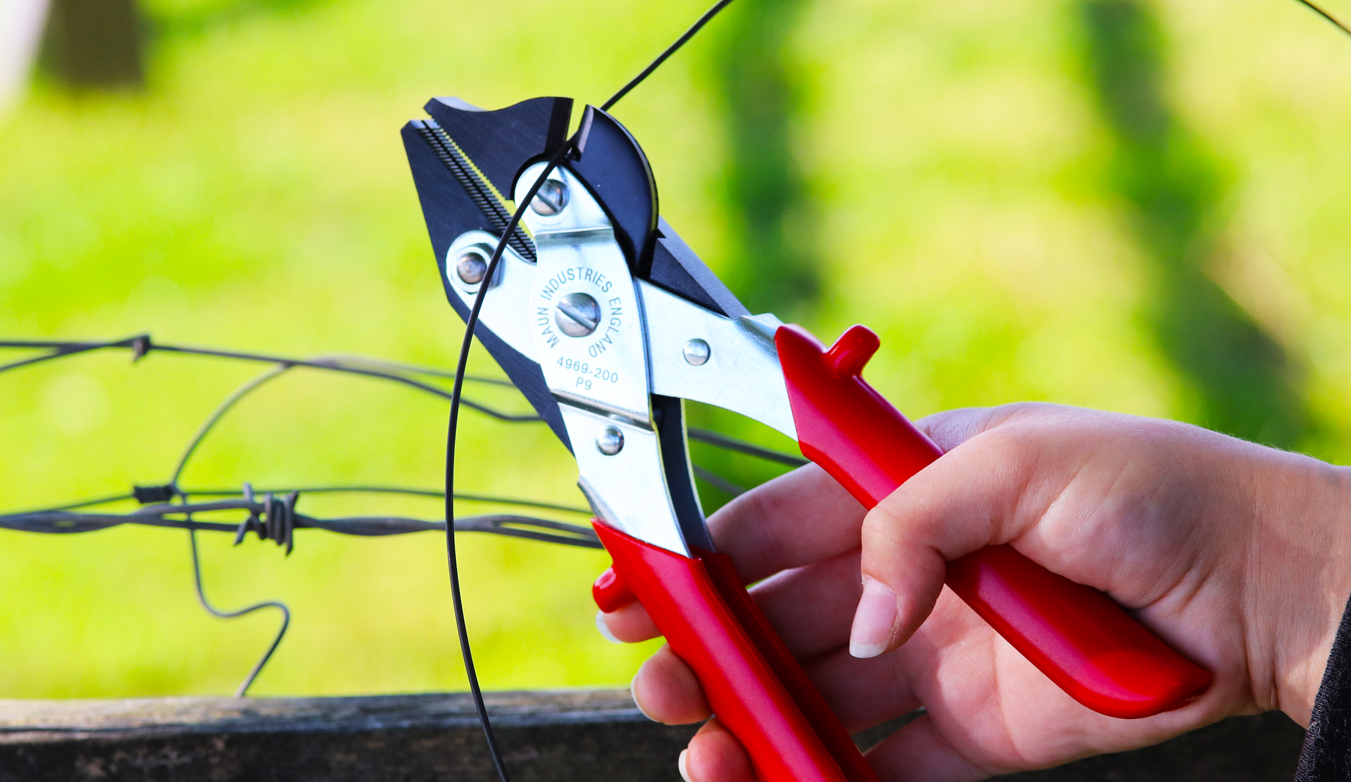
If your post and rail fencing has wire mesh or chicken wire as the main barrier, then it can get a little bit more fiddly to work with.
Over time this wire can become damaged or loose, and, if you’re keeping in animals, it’s important to fix the wire as quickly as possible to keep them from escaping.
If your fence panel is damaged and needs replacing, then using a combination fencing plier like this Side Cutter Parallel Plier will help you to cut away old wire, and re-attach a new panel to existing posts and rails.
The parallel jaws and the v-slot in the jaws give you an excellent grip on fencing wire, and the hardened side cutters make easy work when cutting even tough metal wire.
Fixing a Sagging Fence Gate
Gates tend to get a lot of wear and tear, so it’s not unusual for them to sag after a few years of use. To fix this, you can try the following steps:
- Tightening screws – sometimes it’s as simple as tightening the screws of the gate hinges, to bring the gate back to level.
- Re-drilling hinge holes – if the hinge holes have sagged, you can re-drill these holes to be level, then re-attach the hinges.
- Anti-Sag Gate Kits – if all else fails, you can purchase an anti-sag kit to bring the gate back to level using a pulley system. You can see this video for more info.
Staining and Sealing a Fence
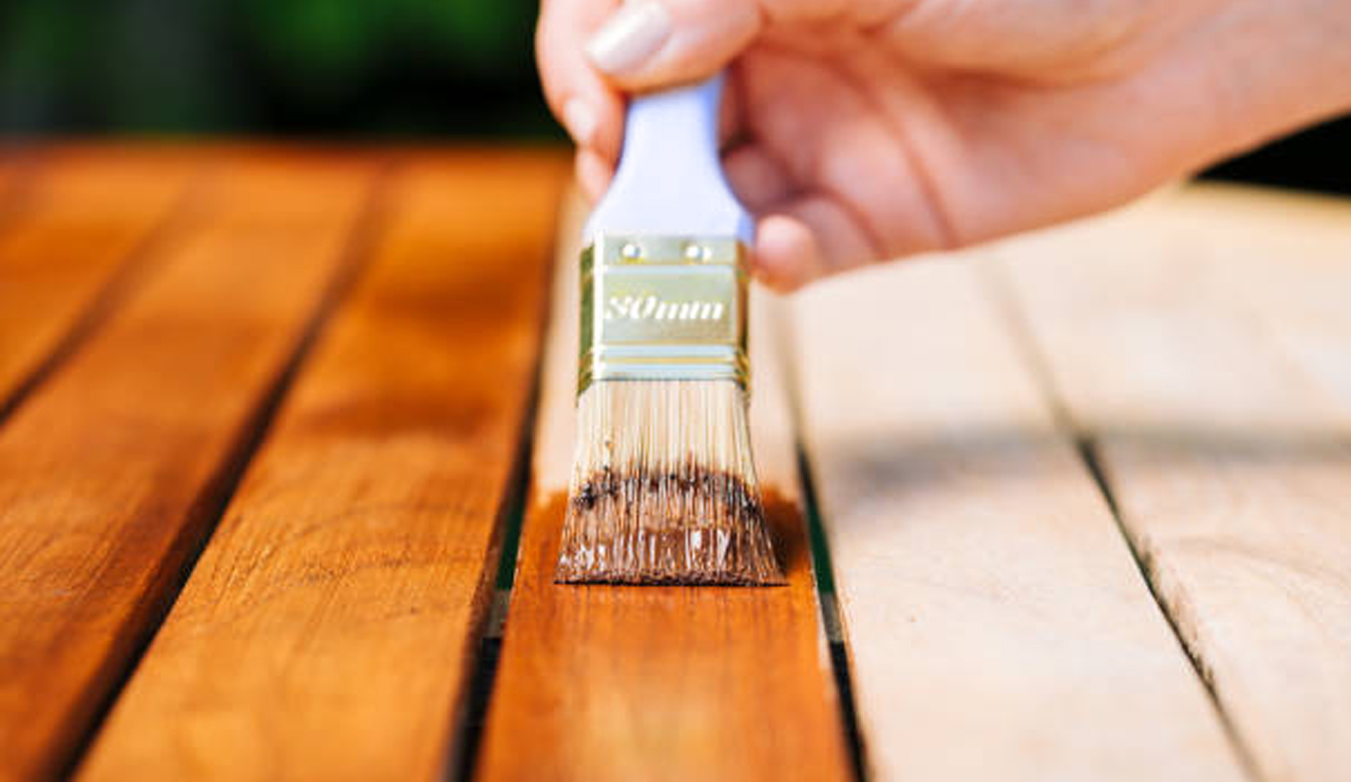
A fence will last longer if you keep it regularly stained or sealed, which helps to protect the wood from moisture that leads to rot. Choose a stain that protects from UV rays, moisture, wood rot, and insects.
Managing Landscaping Trees

If your fence is located next to a large bush or tree, the vegetation can put pressure on the fence which can lead to damage over time.
The root systems can disrupt the post stability, and the branches can push against panels, bending or breaking them. The foliage touching the wood can also increase the moisture on the wood, leading to rot.
You can mitigate this by keeping your trees and bushes cut back away from the fence.
Conclusion
Repairing your wooden fence may seem like a big job, but it could save you hundreds of pounds by doing it yourself.
Scroll back up to re-read any steps that were confusing, browse our related posts below, or contact us with any questions: