
The Best Maun Crimping Pliers And How To Use Them
24th Apr 2025
Got something to crimp, but no idea where to start?
In this post, we’ll clue you up on the different crimping tools designed for all sorts of tasks. TO bootlace to splice to coaxial – we’re picking apart the jargon to help you land on the best crimping tool for you and your job. And we’ll even tell you how to use them.
Now let’s get into it.
What is a crimping tool?

In short: a crimping tool joins two pieces of metal together.
A toolkit essential for any professional, they’re engineered for providing the most reliable gas-tight seals and attaching connectors to electrical cables. So they make your job easier, and the end result safer.
Carry on scrolling to read about the different types of crimpers, along with our crimping instructions. And shop all Maun’s crimping tools here.
6 types of crimpers and how to use them
THE BOOTLACE HERO
The Maun Bootlace Ferrule Crimper is a compact tool does what it says on the tin - crimps bootlace ferrules or bootlace crimps to wires. Bootlace ferrules are metal tubes with a colour-coded insulation collar, typically made of plastic or nylon.
Handy when using screw terminals to prevent multiple core wires from splitting, this gadget is a maintenance and electrical installation favourite.
How to crimp with this tool:
1.Firstly, strip the insulation off the section of your wire that will slot into the connector.
2.Slip the wire into the connector, then place the connector in the crimper jaws.
3.Apply force to the handles, securing the connector around the wire. If you aren’t happy with the crimping security, reinsert the connector and clamp again to apply more pressure.
Need one? Shop the compact Maun Bootlace Ferrule Crimper 0.5 mm² to 16 mm².
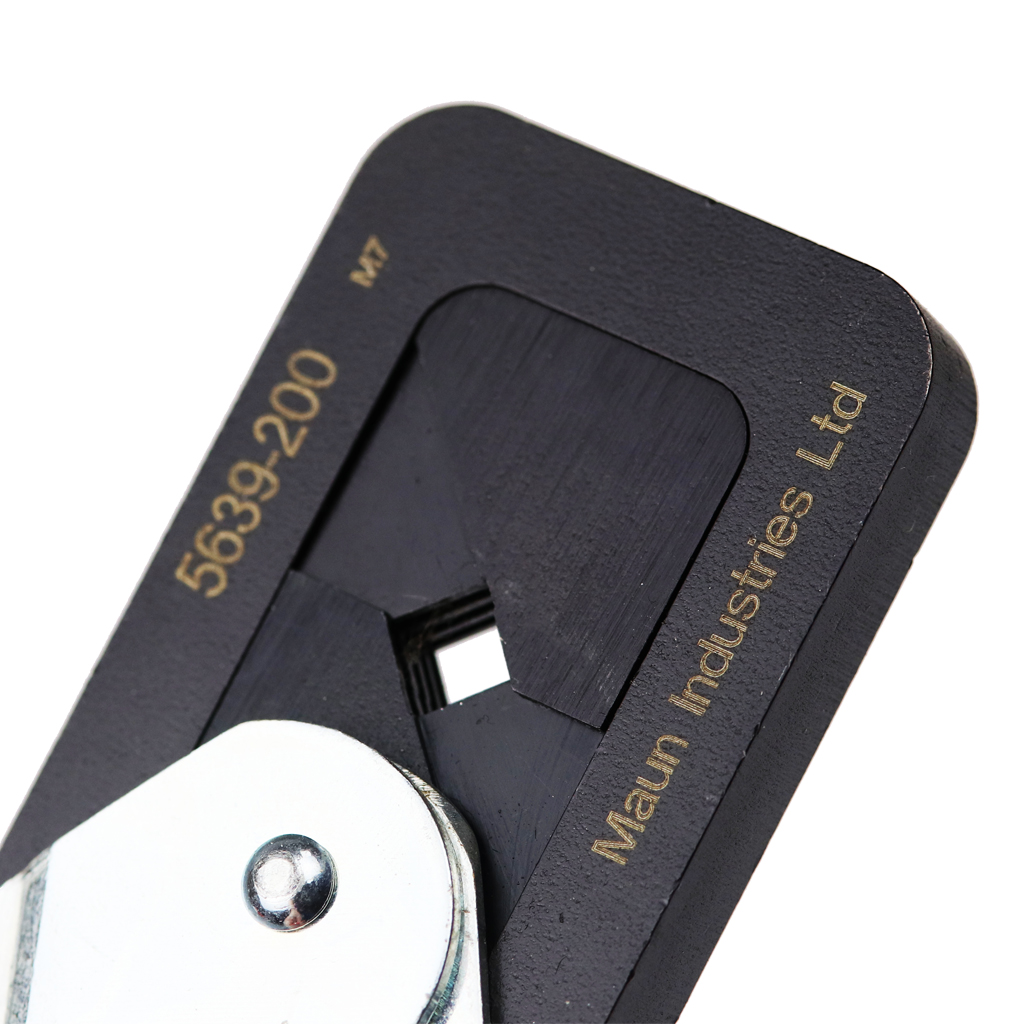
THE PRECISION TOOL
Ideal for thin cables and connectors, this nimble Maun Crimping Tool was made for jobs that need precision. The handy ratchet only releases once enough force has been applied, to give a high-quality, gas-tight crimp every time.
How to use this wire crimping tool:
1.Strip the insulation from the section of the wire being inserted into the connector.
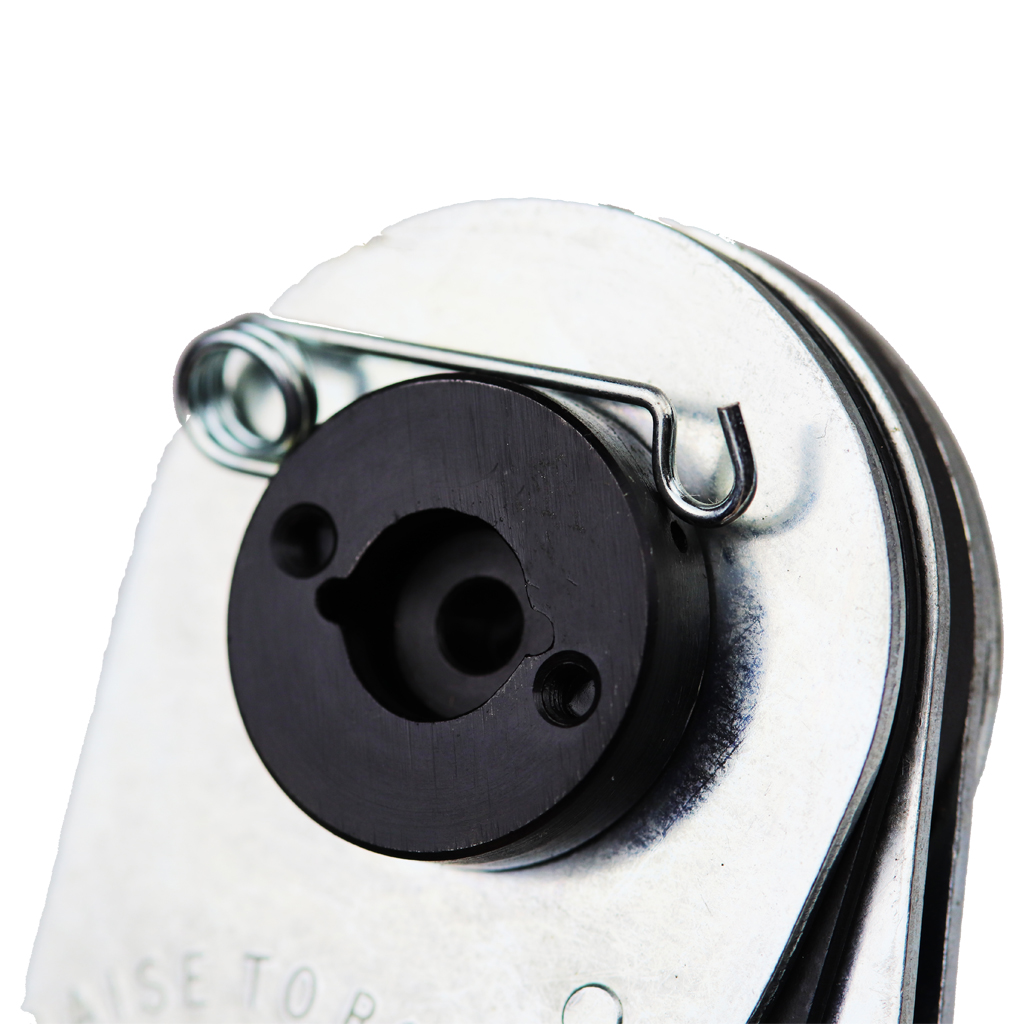
2.Remove the crimping tool’s security clip and set the numbered dial to the correct number.
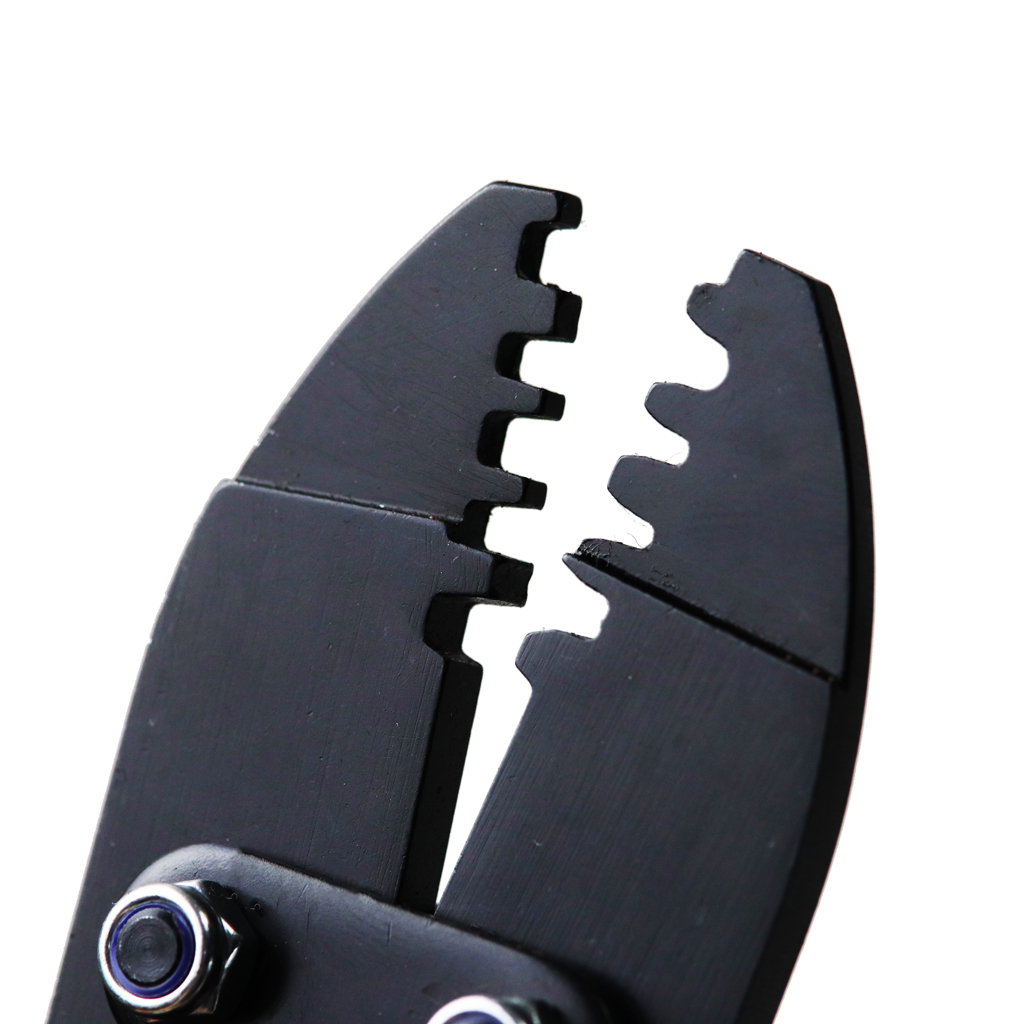
3.Place the connector inside the narrow slot of the crimping tool and gently close the plier to hold it securely in place.
4.Slot the wire into the connector and apply force to the handles until they close together, and the ratchet is released.
5.Remove your crimped wire and connector.
Try the Maun Crimping Tool 8 Ident 26 to 16 AWG.
THE MULTIPOLE GADGET
Durable and reliable, this Maun Multipole Crimping Tool is designed to crimp QM connectors to size 16, 20 and 24 AWG wires, as well as 9-way IP68 connectors to size 24 to 28 AWG wires. Just the ticket for mains control lead connections and small transmission systems.
Crimping instructions for this tool:
1.Strip the correct amount of insulation from your wire and choose your tool cavity.
2.Feed the newly exposed bare wire into the connector and slot the connector into your chosen cavity.
3.Apply pressure until the jaws close, then remove the newly joined wire and connector.
4.Feed your newly crimped wire and connector into the tool’s top cavity.
5.This time, crimp over the wire’s insulation.
Looking for a multipole tool? Shop the Maun Multipole Crimping Tool for QM Connectors 220 mm.
THE EIGHT-OPTION BOOTLACER

Similar to the Maun Bootlace Ferrule Crimper, this Bootlace Ferrule Crimping Plier features eight cavities ranging in size from 0.5 mm² to 16 mm². Designed to create a gas-tight seal, it’s a toolkit staple for electricians and service engineers.
How to use these crimping pliers:
1.Remove the insulation from the section of wire you’re slotting into the bootlace ferrule.
2.Select your bootlace ferrule and crimping plier cavity, depending on the thickness of your chosen wire.
3.Feed your wire into the bootlace ferrule, then slot the ferrule into the plier’s cavity.
4.Clamp the handles together tightly, until the jaws close, and remove your newly crimped wire and ferrule connector.
Try the Maun Bootlace Ferrule Crimping Plier 0.5mm² to 16 mm².
THE ONE FOR SPLICES
Engineered specifically for gel-filled splices or butt splice connectors, the Maun Scotchlok 8A 8B Crimping Plier 150 mm gives a professional, durable crimp every time. A telecommunications industry favourite, these specialist pliers guarantee a reliable electrical connection.
Crimping instructions for these pliers:
1.Carefully strip the insulation from the two wires being connected.
2.Slot them into your splice or butt splice connector.
3.Place your splice or butt splice connector between the plier jaws’ cavity.
4.Clamp the handles together until the jaws meet and the wires and splice are secured.
Looking for a splice crimping tool? Shop the Maun Scotchlok 8A 8B Crimping Plier 150 mm .
THE COAXIAL SPECIALIST
These Maun crimping tools belong in the toolkit of every professional electrician and television or radio aerial service engineer. The crimpers feature colour-coded handles to help you use the right tool for the coaxial impedance in question. Choose between a 75 Ω connector Crimping Tool for RG 59 cable and a 50 Ω connector Crimping Tool for RG 58 coaxial.
Both tools include a ratchet release lever, which only releases once crimped enough for maximum safety.
How to use these crimping pliers for coaxial cables:
1. Feed the crimping ferrule or sleeve over and down your wire, ready to slide back up later.
2. Prep your wires, following your connector instructions. Typically, you’ll trim back around 20 mm of insulation, 10 mm of wire braiding and 5 mm of inner insulation to reveal the centre conductor, showing all four materials at once. You might need to trim these further as you go.
3. Slot the wire’s newly revealed centre conductor into the connector’s centre pin, and clamp inside the crimping tool’s small cavity until the ratchet is released.
4. Flair the braided wire shield for easier insertion of the connector body.
5. Now insert the newly crimped wire and pin into the connector body. Make sure the connector slots neatly under the cable’s braiding but over the inner insulation, parting the two materials.
6. Once your braiding is around the connector, feed the crimping ferrule or sleeve over the two until it hits the connector’s body.
7. Now place the crimping ferrule or sleeve into the crimping tool’s larger cavity and close the handles until the ratchet is released.