
How To Fit Shear Bolts
19th Mar 2026
Are you installing a new shear bolt or replacing one that’s broken?
This guide is designed to help.
Fitting each type of shear bolt will vary depending on the situation and type, but below we will outline some common applications.
Installing Mechanical Fuse Shear Bolts
A mechanical fuse shear bolt is designed to protect critical machine components by breaking under high or sudden loads. This can prevent costly damage to more significant parts of the machine.
Here’s how to install them:
- Line up components – move internal parts so the holes in the two locations where the sheer bolt will connect are lined up. (Misalignment can place uneven stress on the bolt, causing it to fail prematurely.)
- Thread the bolt through the hole – make sure the bolt sits flush with both sides of the connection to distribute stress evenly.
- Tighten – using a torque wrench, tighten the bolt according to the manufacturer’s instructions (this may vary per bolt and machine type). You don’t want to overtighten and damage the bolt.
If you’re replacing a bolt that has sheared off, you must assess and fix the reason it sheared in the first place. Otherwise, it’s highly likely to immediately shear again.
E.g. removing the blockages from your farming machinery manually or by reversing and navigating around an obstacle.
Installing Security Shear Bolts
A security shear bolt is intended to be tamper-proof. Once tightened, the top shears off, leaving only the bottom section in place, which can’t be easily removed without a specialised tool.
Here’s how to install them:
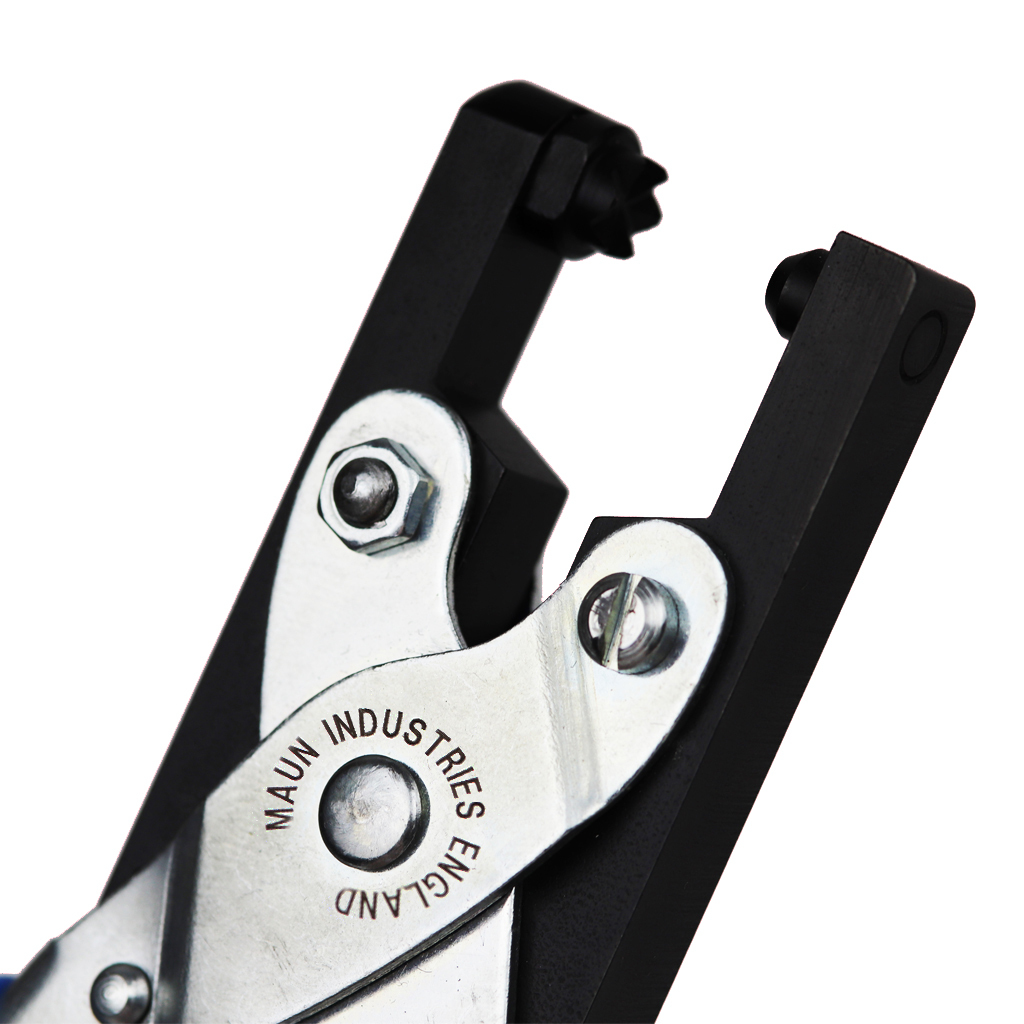
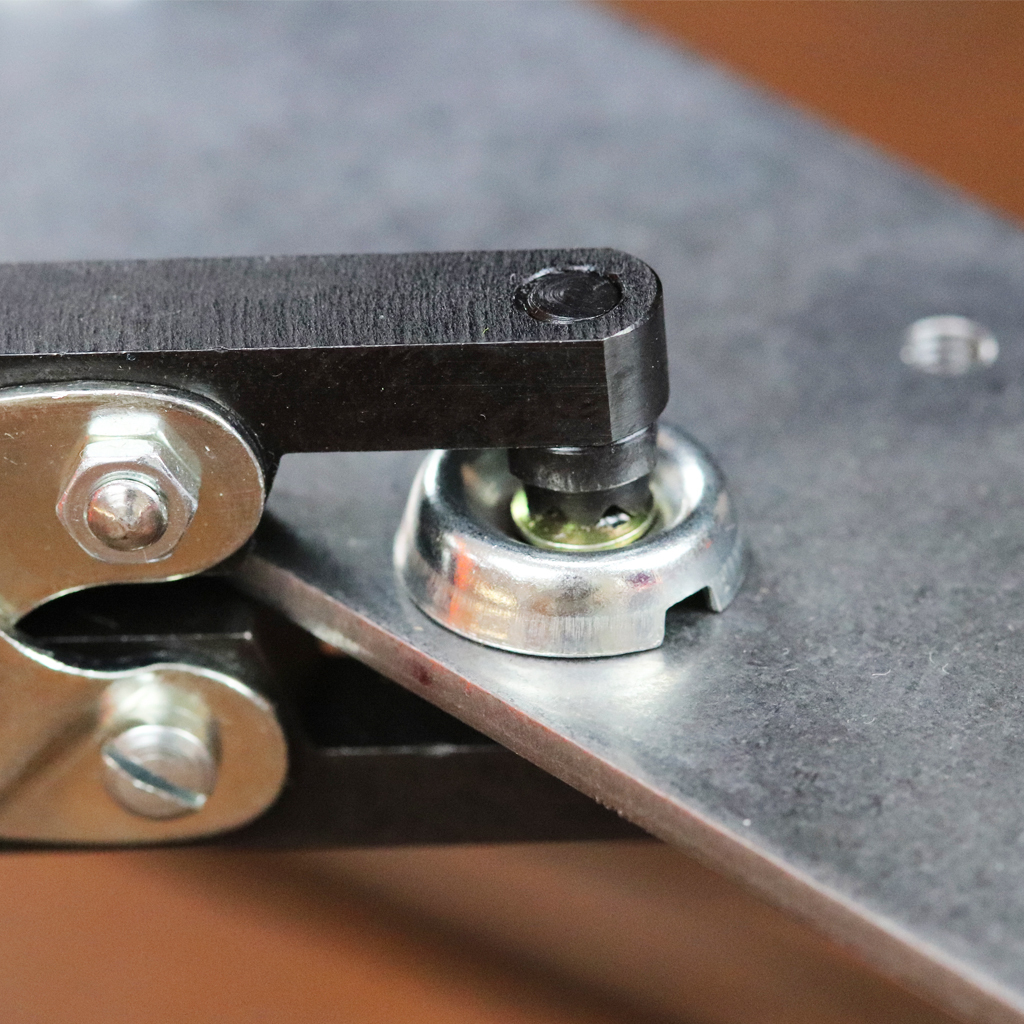
- Thread the bolt into the connection: Place the bolt in the designated hole, typically in areas requiring tamper resistance, such as gas meters, traffic signs or security equipment. Ensure the bolt is threaded evenly to avoid any cross-threading, which could weaken its structure.
- Tighten the bolt: Using a normal socket wrench, tighten the shear bolt until the top part of the bolt snaps off, leaving you a smooth finish that cannot be removed (without a specific tool, like the Maun shear bolt removal tool).
These are perfect for gas meters, where you don’t want the public to access them.
Installing Torque-Controlled Shear Bolts
A torque-controlled shear bolt is designed to shear off precisely when a specified torque level is reached, providing a controlled and secure fit. This application is especially critical in assemblies that require consistent tightness to maintain stability or safety.
Here’s how to install them:
- Thread the bolt into the connection: Position the bolt securely within the connection, making sure that it threads smoothly and without excessive friction. In critical applications, apply a thread-locking compound to ensure stability, especially in environments prone to vibration or load shifts.
- Tighten until the head shears off at the specified torque: Using a torque wrench or calibrated tool, apply gradual pressure until the bolt’s head snaps off cleanly. When working with torque-controlled bolts in sensitive equipment, such as precision machinery or electronics, consider using a low-speed, high-torque tool for greater control.
How To Remove a Shear Bolt
Removing a shear bolt isn’t easy, and that’s by design, but there are a few methods if you must do it:
- Dremel or Saw: You can use these tools for a brute-force approach to create a new screw head into the sheared end of the screw by cutting a slot into it. Then, unscrew using a flathead screwdriver (or attachment for your drill).
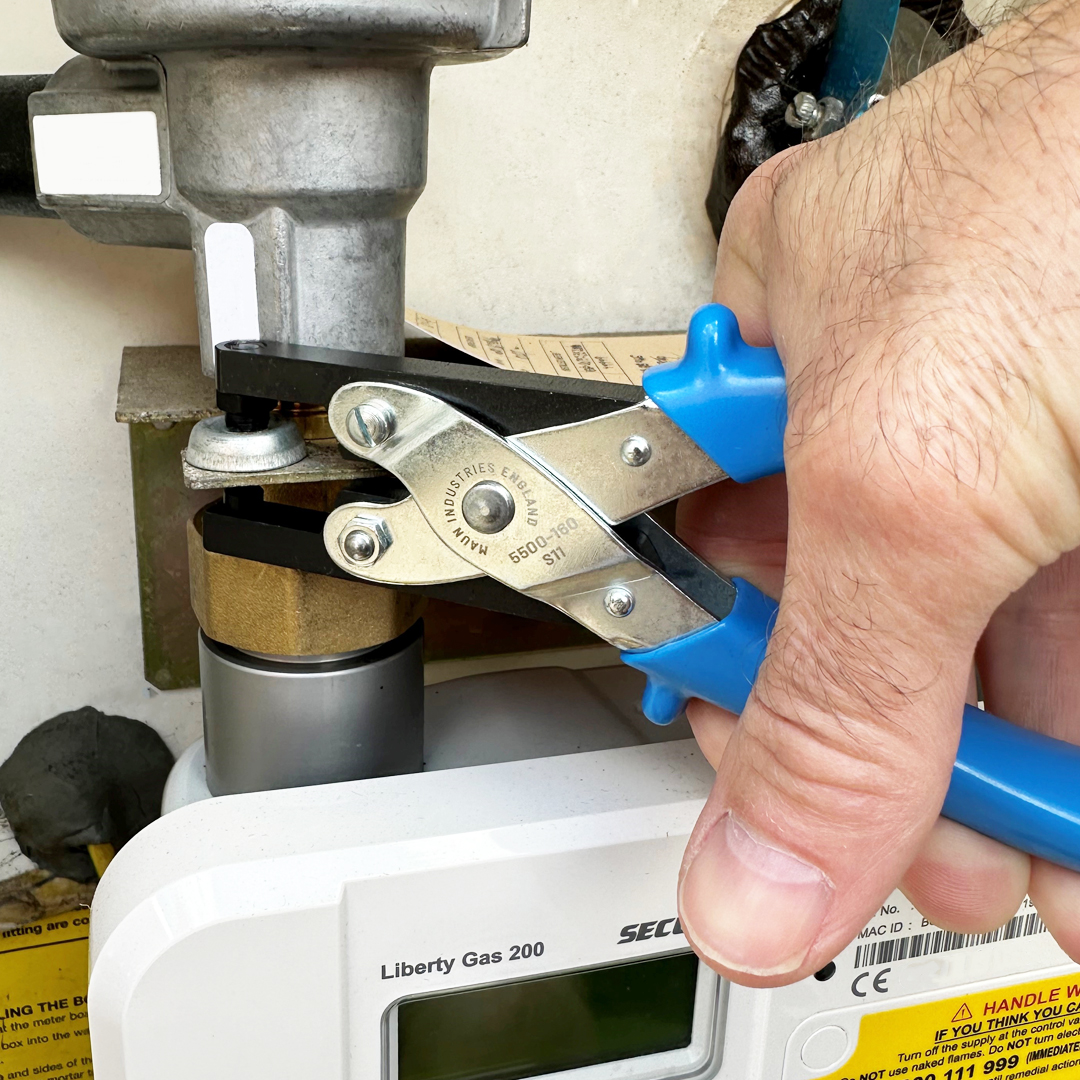
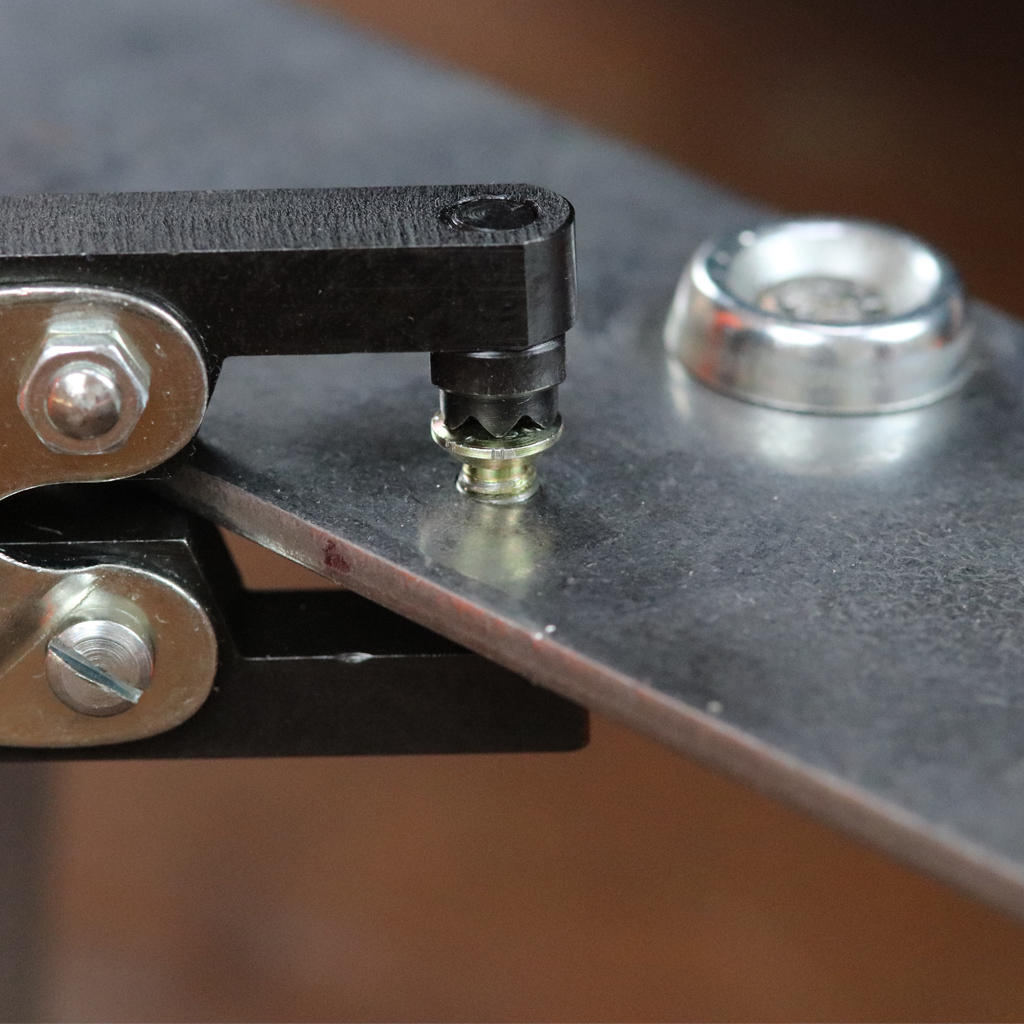
- Shear Bolt Removal Tool: For gas meter security shear bolts, Maun has a tool designed to remove these with minimal effort (see it here).
- Automatic Centre Punch + Pencil Rubber: If you’re worried about damaging surrounding components, you can point the tip of the punch at an angle on the outer edge of the bolt head facing anticlockwise, then strike with a hammer to break the seal. Then, once loose, you can use a rubber pencil end to manually unscrew it.
Final Summary
Now you are fully ready to install your next shear bolt.
If you have any feedback or improvements you’d recommend for this post, we’d love to hear from you.
This post was brought to you by Maun, experts in tools since 1944.
Scroll back up to re-read any key points, browse our related pages below, or contact us with any questions: